Home » Standard Template Version 2.0 Documentation » Site Settings
Site Settings
The _site-configuration/site-settings page contains options for site-wide elements such as navigation, search, social media, and analytics. Please do not move, delete or rename this page or your website will not function correctly.

When you edit the Site Settings page, you will see a series of headings. Click on a heading to expand the options within it. Additional options within the heading may also expand and collapse.
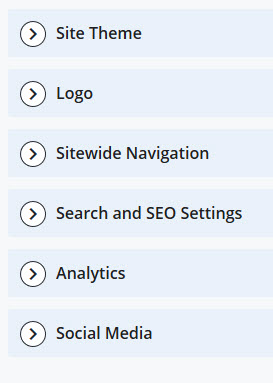
Logo
When your site is first created, your website will display a placeholder image. The official Emory unit signature element is restricted and may only be assigned by Communications and Public Affairs. Please contact CPA for assistance prior to launching your website.
Back to top
Site Theme
Top / Side Nav Color
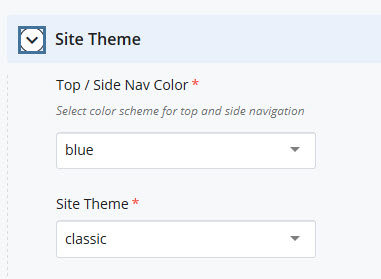
You have the option of selecting alternate top and side navigation color schemes for your website. Use the Top / Side Nav Color drop-down to select from the following choices:
Note: The first four themes below do not change the side navigation, while the last ten change both. You can see examples of this in our
style guide.
Blue

Gold

Black

Khaki

blue

gold

black

khaki

1 - taupe / dark gray / dark tan
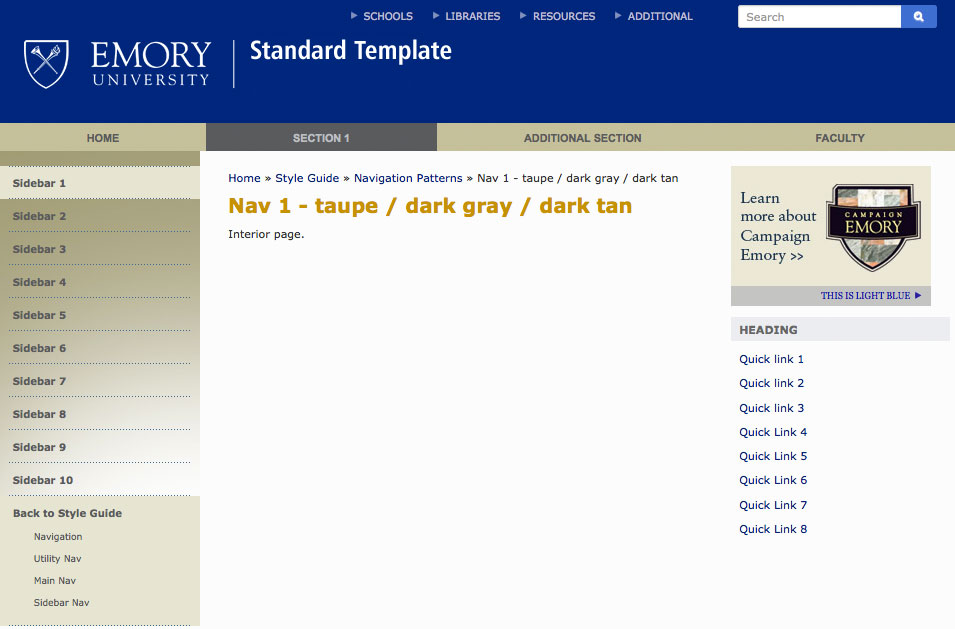
2 - light gray / dark gray / dark beige
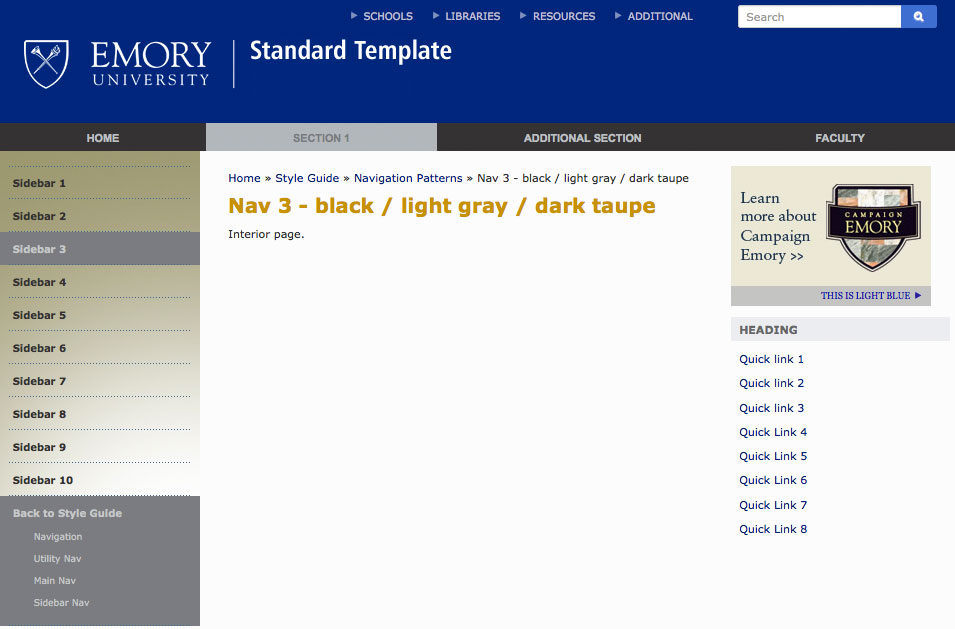
3 - black / light gray / dark taupe
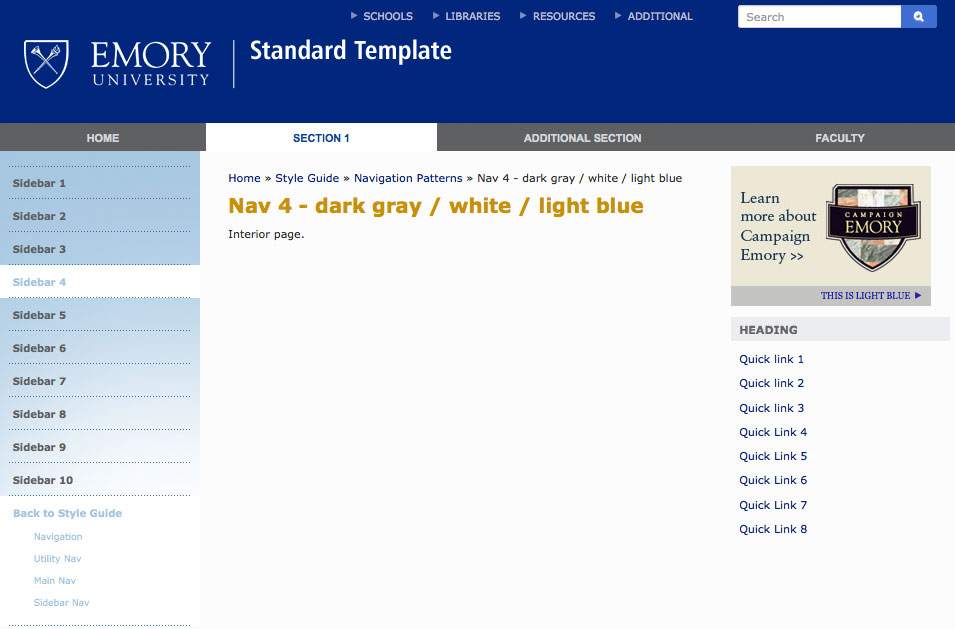
4 - dark gray / white / light blue
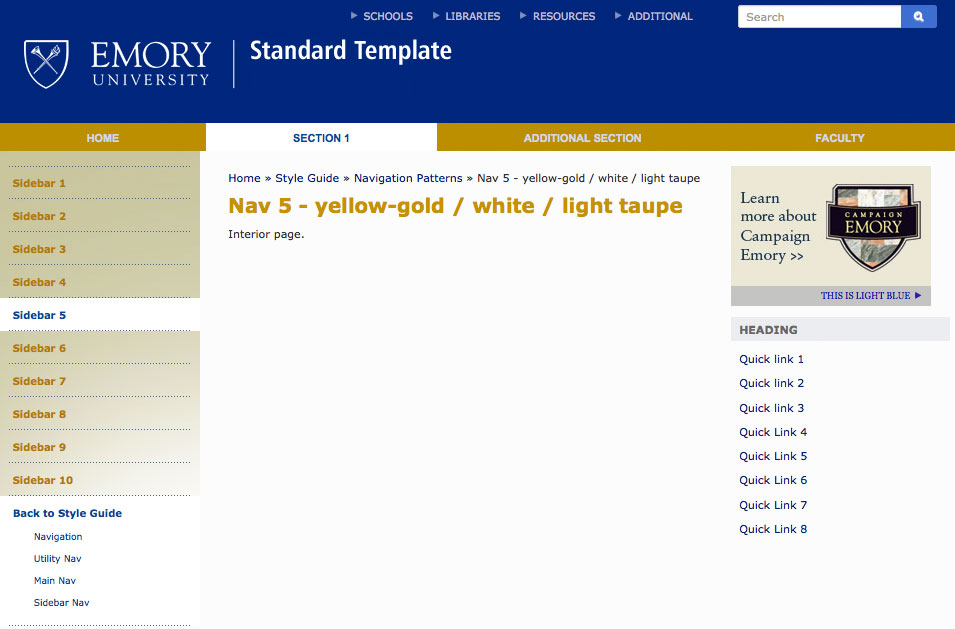
5 - yellow-gold / white / light taupe
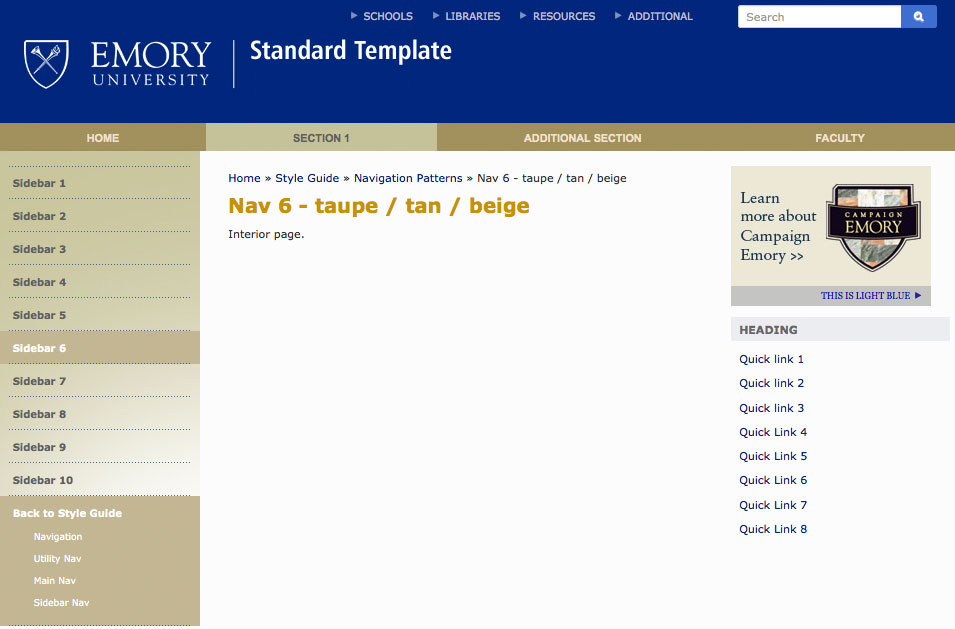
6 - taupe / tan / beige
7 - light gray / light olive / light olive
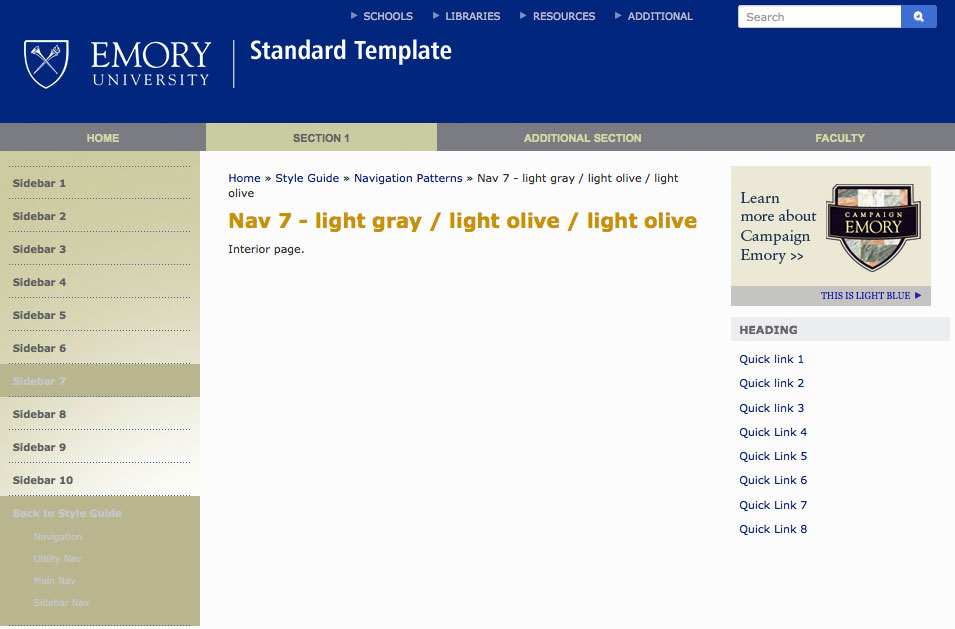
8 - raw sienna / burnt sienna / beige
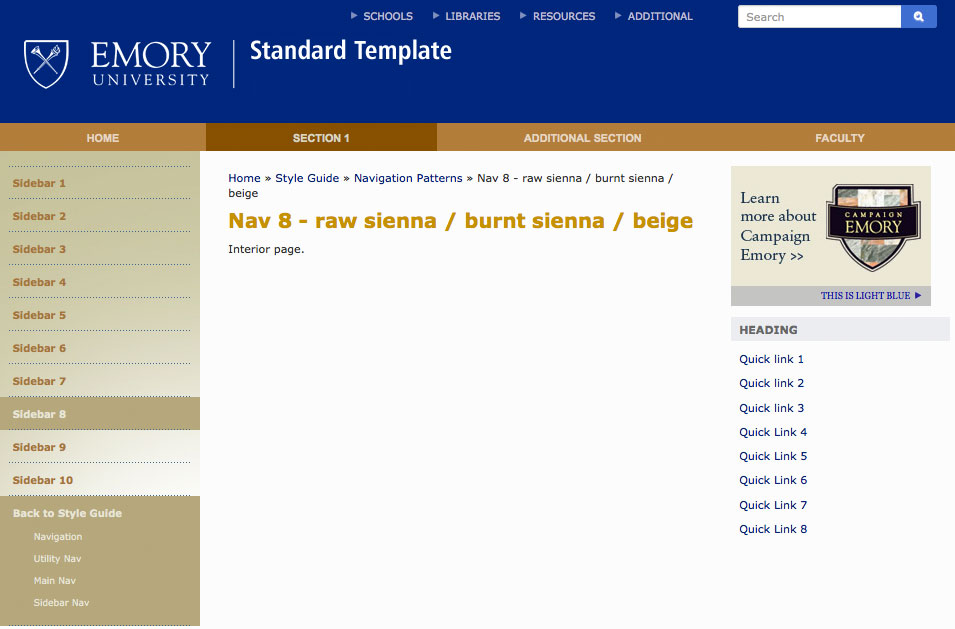
9 - gray / light olive / dark tan
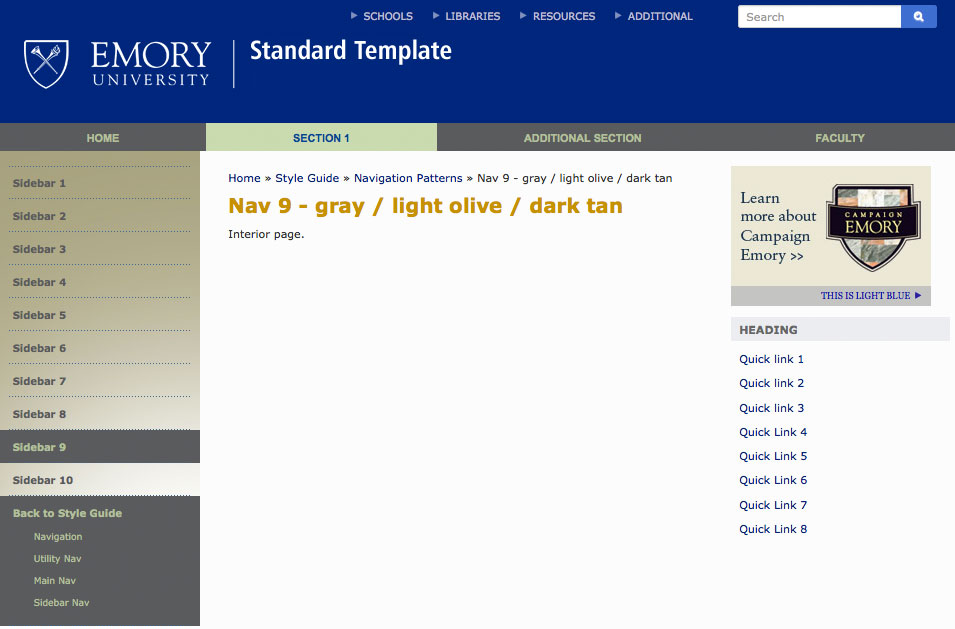
10 - turquoise / light olive / light blue
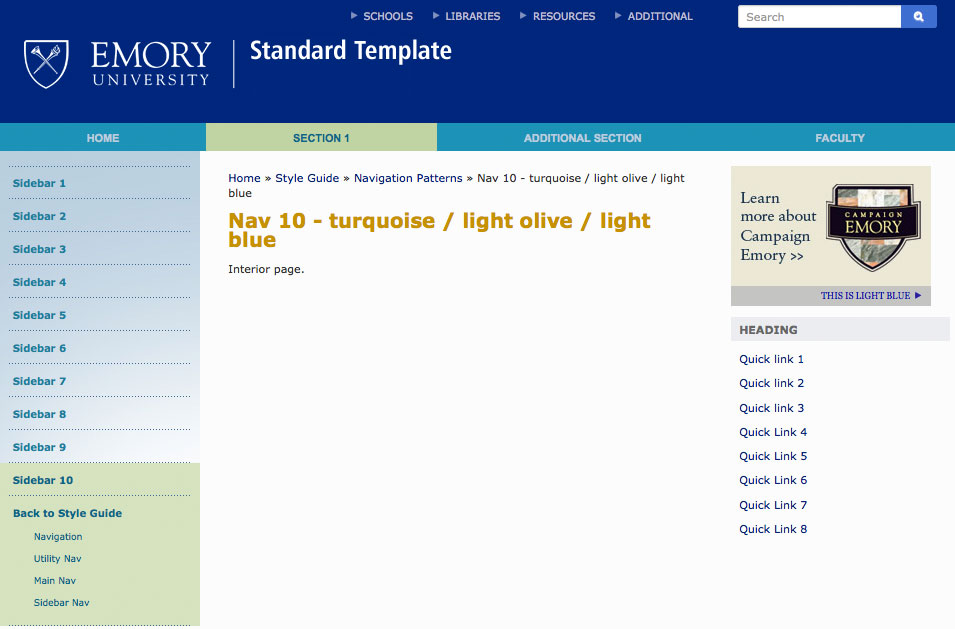
Back to top
Sitewide Navigation
Expand the Sitewide Navigation heading to see navigation options for your site.
Publishing Note
Please note that when you make changes to the top navigation, utility navigation, or breadcrumbs, you will need to republish your entire website for the changes to be visible site-wide.
Top navigation
To populate your top navigation element, you must manually assign each link. Please note for the top navigation to function correctly, internal links must point to pages with the name of index. The top navigation functionality is optimized to work with your top level folder structure, where major sections are top level folders, and major section links point to a page named index within a top level folder. Using this approach ensures that when you navigate to a sub-page within that section, the top navigation’s “you are here” indicators are correct.

Entries
For each link to be added on the top navigation, please enter a title in the Link Text field. This will become the text for the link.
Next, choose a link type:
- If you are creating a link to a web page within the Cascade site, click on the blue Choose Page icon for the Internal Link option.
- If you are creating an external link (to a webpage outside of the website or one that is not yet migrated into the CMS), type the full url (starting with https://) into the External Link URL box.
 |
To create an additional link, click on the + (plus sign) icon. This will create a new link entry as detailed above.
|
 |
To move a link up or down in the list, click the down arrow icon.
|
 |
To delete a link, click on the red X icon next to the link.
|
Utility Navigation
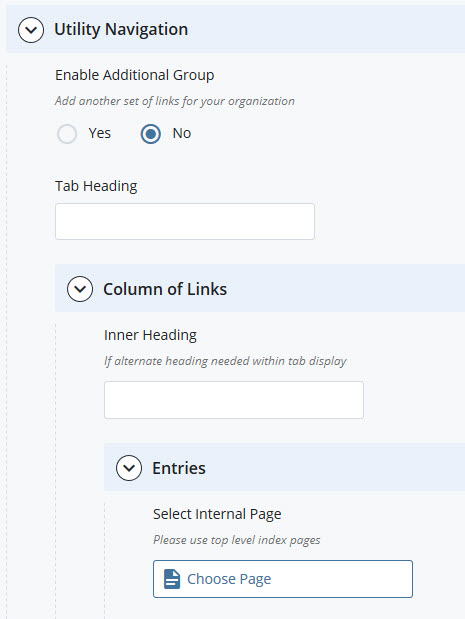
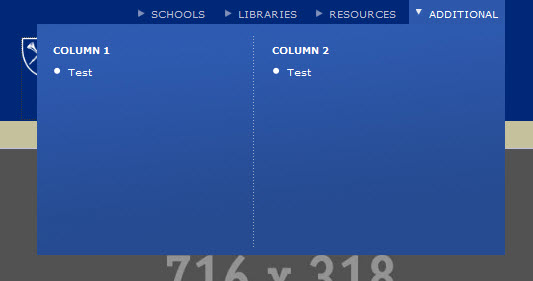
Emory’s Utility Navigation element appears in the upper right corner of all Standard Template pages. This element provides quick access to major schools, units, and resources. It is also possible to add a new set of links and heading that are contextual to your organization. To add a new set of links:
For Enable Additional Group: select Yes
For Tab Heading: Enter a heading for your new set of links (will be formatted to display as the Schools/Libraries/Resources links do)
Entries
For each link to be added to the new utility navigation section, please enter a title in the Link Text field. This will become the text for the link.
Next, choose a link type:
- If you are creating a link to a web page within the Cascade site, click on the blue Page or Browse [] icon for the Internal Link option.
- If you are creating an external link (to a webpage outside of the website or one that is not yet migrated into the CMS), type the full url (starting with http://) into the External Link URL box.
 |
To create an additional link, click on the + (plus sign) icon. This will create a new link entry as detailed above.
|
 |
To move a link up or down in the list, click the down arrow icon.
|
 |
To delete a link, click on the red X icon next to the link.
|
Breadcrumbs
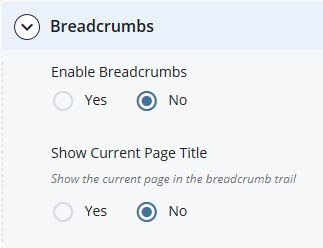
You can also choose to enable breadcrumbs navigation for your interior pages. Breadcrumbs provide a hierarchical set of links from the current page back to the top level of the website.

To enable breadcrumbs:
- Enable Breadcrumbs: select Yes
- Show Current Page Title: select Yes or No. This determines whether or not the currently viewed page’s title is displayed in the set of links.
Back to top
Search and SEO Settings
This set of options allows you to configure some aspects of how your pages are searched, and how your site pages’ results appear in search engines. When your page is found by a search engine, the Title (as you provide in Cascade page's Metadata) is displayed as part of the results.
Emory's Standard Template Search functionality is largely driven by Emory's Google Search Appliance, and allows visitors to search the current website only, all of Emory's websites, and the Emory People directory.
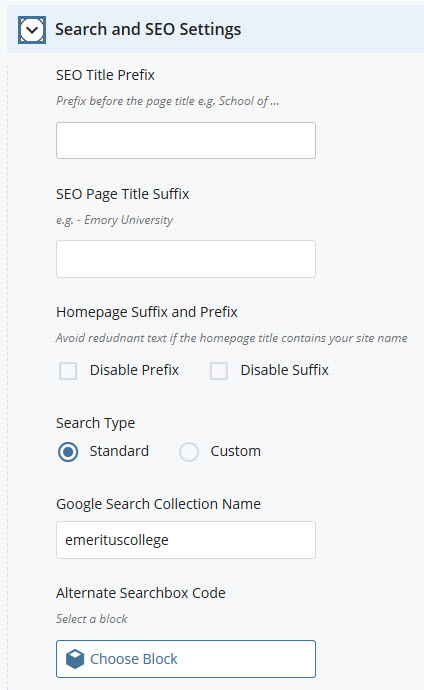
SEO Title Prefix - use this option to add a term or phrase before your page title, e.g. “My Website Name - My Page Title”
SEO Page Title Suffix – use this option to append a term or phrase at the end of your page titles, e.g. “My Page Title – Emory University”
Note: you may also elect to use both options (prefix and suffix) at the same time.
Search Type: leave the default of Standard unless you are using a custom search element.
Google Search Collection Name: When using the Standard Emory search, you must have a Google Search Appliance collection configured for your site. A default value is supplied which searches all Sites.
Advanced Options
Alternate Google Front End: this option is for advanced users who have a custom search results template (changes the default “client” parameter in the query string).
Alternate Google Stylesheet: this option is for advanced users who have a custom search results template (often the same as the Front End; changes the “proxystylesheet” parameter in the query string).
Alternate Searchbox code: this option is for advanced users/developers who have a very specific business need to add a different searchbox to their site. This process will completely replace the searchbox code. Please note that the Standard Template searchbox is currently cross-browser tested and optimized for mobile usage and replacing it will result in a configuration that you must support on your own.
To replace the Standard Template searchbox, you must create a new XHTML block, hand-code your search form, and assign it to the block option. Developers using this option must also provide their own scripting to process and redirect the search query.
Back to top
Analytics
If you already have a Google Analytics account, you may add that account to your website using the options provided.
Code Placement: This option is intended for advanced users, and determines at what point in the overall HTML code the script is placed. The recommended setting is already set by default.
Code Snippet: if you have an existing Analytics code snippet you may paste it in here.
Google Analytics Tracker Code: This area allows for multiple Google Analytics tracking codes to be easily added to the site.
Unique Account Name: Each tracking code requires a unique name. Dashes, special characters, and spaces are not allowed. Underscores should be used to separate words. The account name will not show up in the analytics reports.
Tracking Code: This is where you would place the tracking code generated from Google Analytics in the UA-XXXXXXXX-X format.
Domain Name: If your analytics code requires a domain name to be included, you can add it here. Otherwise, leave this field blank.
Event Options: These are the additional options available for Google Analytics reporting. Additional options may be available in the future as they are released or requested.
Back to top
Social Media
The Standard Template allows you to quickly create social media icons linked to accounts/profiles that you specify. Once your accounts are created, you can create Social Media components that will automatically create links to the proper channels.
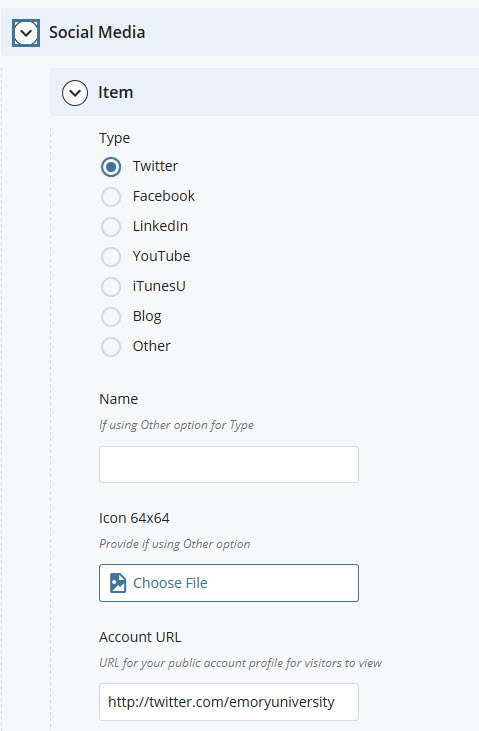
A default set of social media icons is enabled, but you can also add your own icons as needed. Please note that the small, medium, and large icon sizes are pre-styled to work for the following dimensions. If you change the icon dimensions, the Standard Template layouts may not function. It is recommended to provide a 64x64 icon which can then be scaled down as needed for the following layout options:
- Large: 64x64
- Medium: 32x32
- Small: 16x16
Type: select the Type of Social Media account
Name: if you selected Other for the Type, you must provide a Name for the Social Media channel.
Icon: if you selected Other for the Type, you can select an image file from within Cascade your Cascade Site. For best results, please upload an icon that is sized to 64x64 pixels; as noted earlier, these dimensions are tested within the Standard Template layouts.
Account URL: provide a URL for your public facing account profile. This URL will be used as the link on the icon and or text links for your social media icon sets.
Back to top


Social Media
The Standard Template allows you to quickly create social media icons linked to accounts/profiles that you specify. Once your accounts are created, you can create Social Media components that will automatically create links to the proper channels.
A default set of social media icons is enabled, but you can also add your own icons as needed. Please note that the small, medium, and large icon sizes are pre-styled to work for the following dimensions. If you change the icon dimensions, the Standard Template layouts may not function. It is recommended to provide a 64x64 icon which can then be scaled down as needed for the following layout options:
Type: select the Type of Social Media account
Name: if you selected Other for the Type, you must provide a Name for the Social Media channel.
Icon: if you selected Other for the Type, you can select an image file from within Cascade your Cascade Site. For best results, please upload an icon that is sized to 64x64 pixels; as noted earlier, these dimensions are tested within the Standard Template layouts.
Account URL: provide a URL for your public facing account profile. This URL will be used as the link on the icon and or text links for your social media icon sets.
Back to top